Grow Your Business with Our Photo Booths!
- +1(909) 834-7390
- +86-198 9808 9487

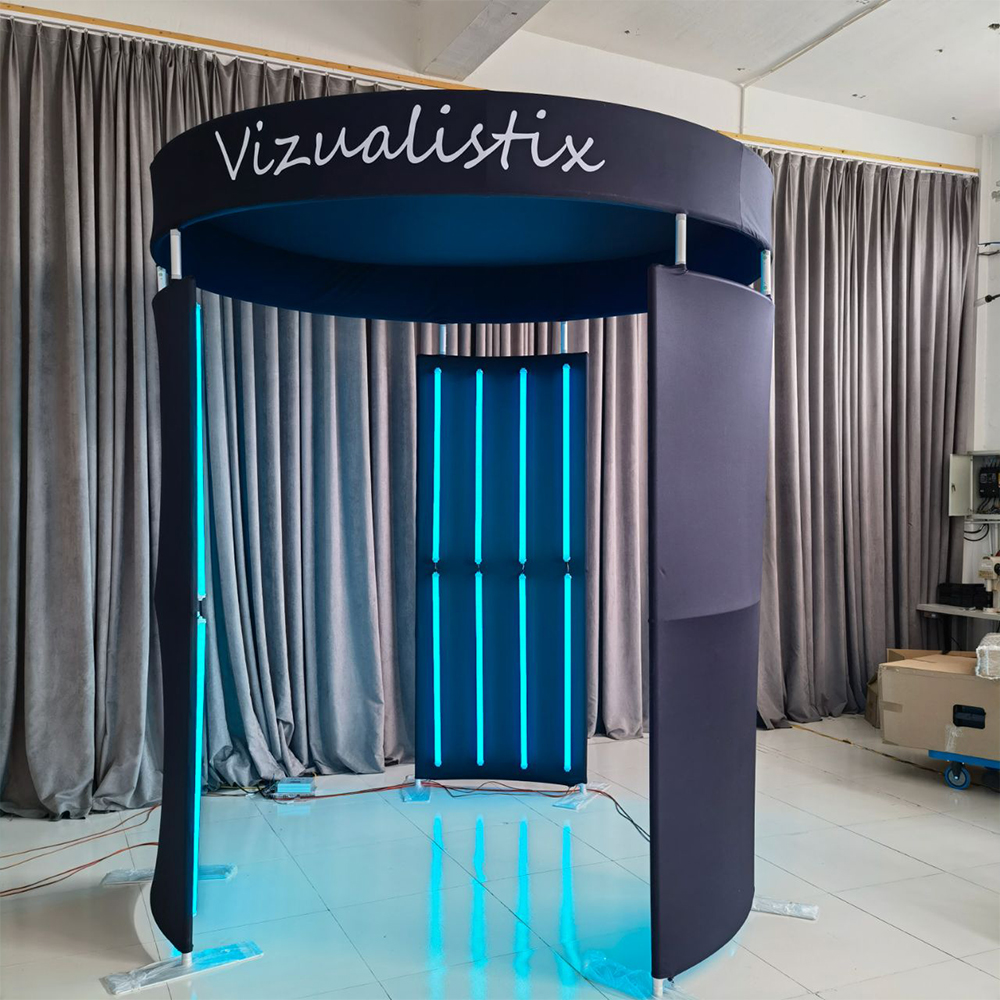
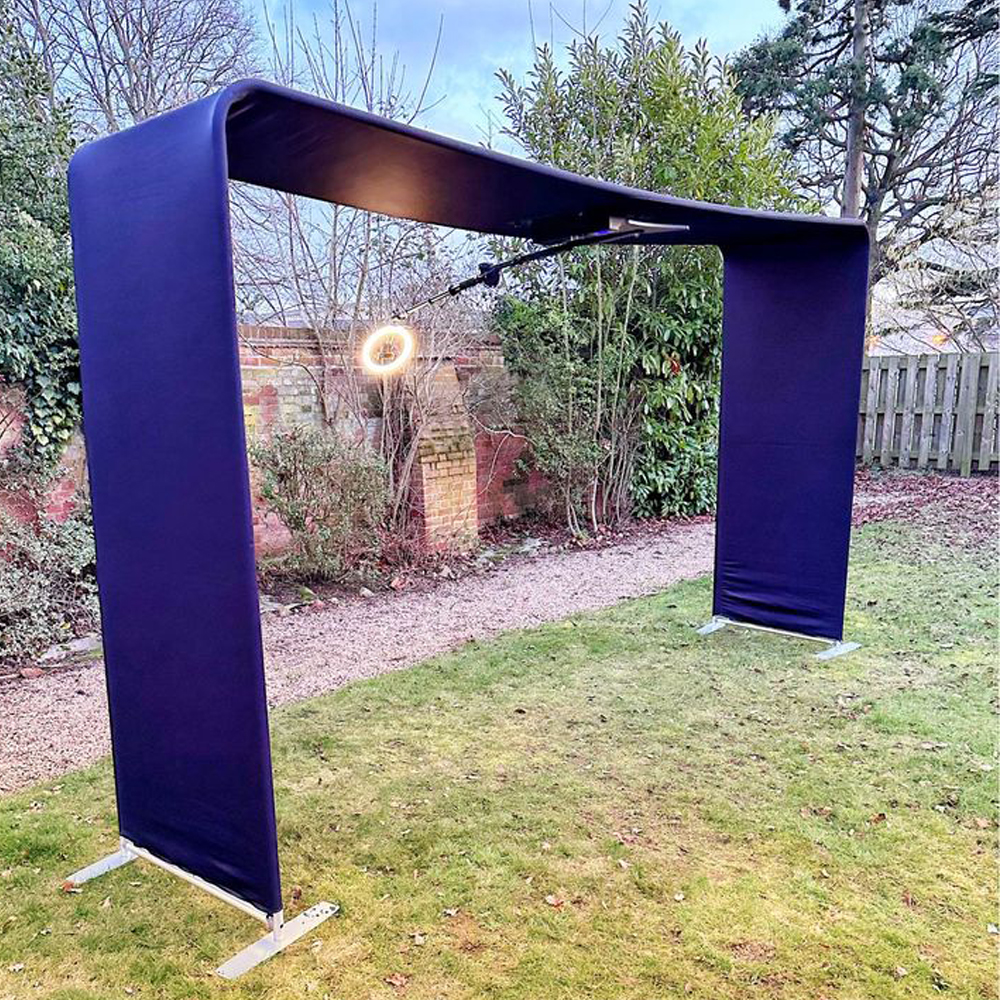
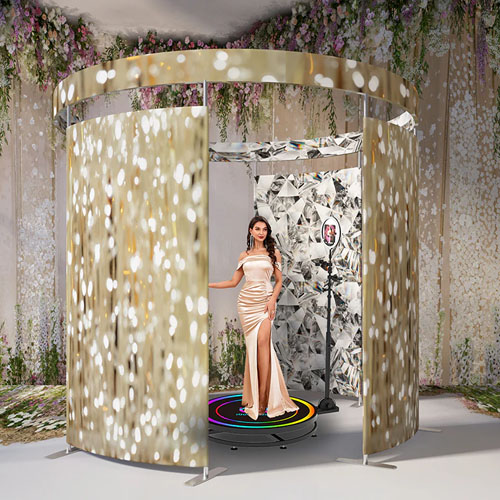
Installing a 360 photo booth enclosure can be a complex process, but here are some general steps that may help:
Choose a suitable location: Select a location with enough space to accommodate the 360 photo booth enclosure and also consider factors such as accessibility, lighting, and safety.
Unpack and assemble the enclosure: Unpack all the components of the 360 photo booth enclosure and assemble them as per the manufacturer’s instructions. This may involve attaching the base, columns, and top cover.
Mount the camera and other equipment: Install the camera, computer, and other necessary equipment inside the enclosure. You may need to attach a tripod or stand to secure the camera.

Connect the equipment: Connect all the equipment inside the enclosure, including the camera, computer, and other devices, with cables and power cords.
Test the setup: Before using the 360 photo booth enclosure, test the equipment to ensure it is working properly. You may need to calibrate the camera and adjust the settings to get the desired results.

Start using the 360 photo booth enclosure: Once everything is set up and tested, you can start using the 360 photo booth enclosure to capture 360-degree photos and videos.
Note: These steps are general guidelines, and the actual installation process may vary depending on the specific model of the 360 photo booth enclosure you are using. Therefore, always refer to the manufacturer’s instructions and follow them carefully.


Send us an email or give us a call. We’d love to connect!

We are a professional 360 photo booth manufacturer, specializing in the research and production of machines. We have developed a complementary app and offer a range of related 360 photo booth products. For wholesale and customization inquiries, please consult for a price quote.